-Check the vehicle regularly for loose screw connections according to the maintenance schedule and tighten loose screws with a torque wrench.
-Do not ride the bicycle if you find loose screw joints.
-Have loose screw joints checked by a professional if you lack the necessary expertise and tools.
Frame and forks
-Check the frame and rigid fork for cracks, deformation, or discoloration.
-If the frame or the forks is cracked, deformed, or discolored, contact the professional immediately.
-Do not use the cycle if you find any cracks, deformation, or discoloration.
Saddle
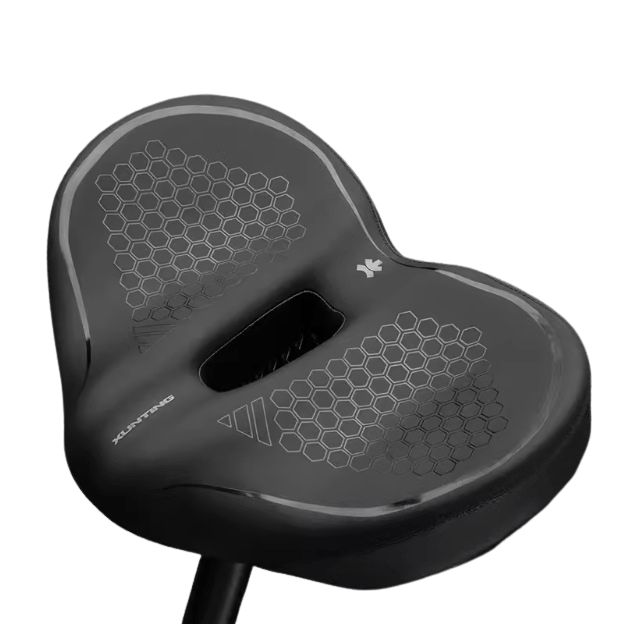
-Check whether you can twist the saddle.
-If you can twist the saddle, tighten the seat post clamp. Observe applicable torques.
-Check whether you can move the saddle horizontally in the direction of travel or the opposite direction.
If you can move the saddle, adjust the saddle clamp.
Wheels
-Check whether the front or rear wheel can move sideways and whether the wheel nuts move.
-If the wheel nuts move, have a professional check the screw joints.
-If the quick-release axle moves, adjust the axle.
-If the front or rear wheel moves sideways, have a professional check the wheel.
-Check whether there is an equal distance between the front wheel and the front fork or between the rear wheel and the frame.
-If the distances are not identical, please have a professional check the front and rear wheels.
-Lift the cycle and turn the front or rear wheel. Check whether the front or rear wheel swings sideways or outwards.
-If the front or rear wheel swings sideways or outwards, please have a professional check the wheel.
-Check the front and rear rims for cracks, deformation, or color changes at regular intervals.
-Check whether the rim is under the inner tube and the rim tape.
-Do not use the cycle if the rim is cracked, deformed, or discolored.
-Have a professional check if there is any damage on the rim, materials, and aluminum.
-Squeeze the spokes together gently with your thumb and fingers, checking whether
-The tension is the same for all spokes. If the tension varies or spokes are loose, have a professional check the spokes tensioned.
Tires
Check whether the tire pressure is correct according to the data on the tire sidewall.
Check the tires for cracks and damage from foreign bodies.
Check whether you can feel the tire tread.
If a tire is cracked or damaged, or the tread depth is too low, have the tire replaced by a professional.
Brake
-It's crucial that you learn and remember which brake lever controls which brake (front/rear) to ensure your safety.
-To check which configuration your eBike is set up, squeeze one brake lever and see whether the front or rear brake engages. Now to the same with the other brake lever. Remember this configuration.
-While testing the brake configuration, make sure that your hands can comfortably reach and squeeze the levers with no issues. If you experience any problems or discomfort operating the brakes, please reach out to us before riding.
-Review the brake manufacturer's user manuals and care for your brakes correctly.
Battery
-It's essential to follow these instructions and safety tips to preserve the longevity of your battery's life and ensure proper performance.
-Fully charge the battery before each ride to ensure it is ready to go the entire range. It will help reduce the chance of over-discharging the battery.
-If the battery becomes physically damaged, non-functional, has been dropped, or involved in a crash, or you notice it performing abnormally, please discontinue use and contact the seller immediately.
Charging your Battery
-The charger is rated for 100-240V. Be sure to check the charger, the charger cables, and the battery for damage before beginning each charge.
-Charging time takes about 3-4 hours. It may take longer to fully charge the battery on rare occasions, mainly when the bike is new or stored for a long time.
-Only charge the battery with the supplied charger as others may cause damage to the battery or increase the possibility of fire or explosion.
-While the charger is designed to stop charging once the battery is full automatically, please do not leave it plugged in for more than 12 hours.
-Make sure your charger is isolated from liquids, dirt, and debris.


